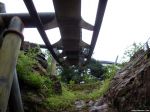
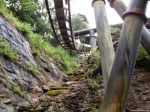
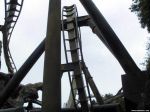
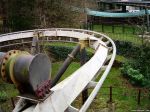
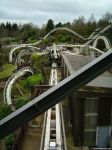
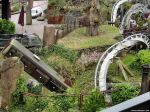
| Please note that all of the photographs shown were taken with the park's permission. You should not attempt to enter these areas yourself without prior consent. |

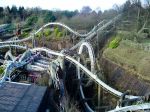
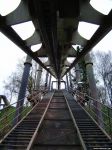
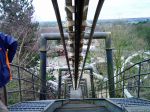
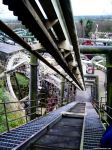
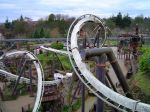
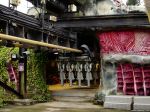
Looking at Nemesis from Air's lift hill.
|
|
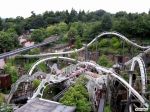
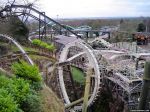
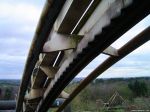
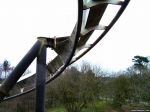
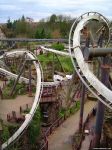
A wider shot of Nemesis and the Forbidden Valley from Air.
|
|

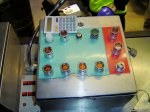
The Operator's control panel in the station.
|
|

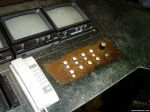
Part of the console, notice the "themed" buttons - these trigger the breakdown/weather announcements around the ride area.
|
|

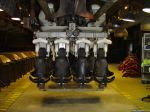
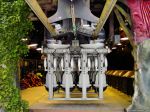
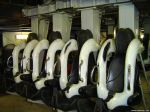
A train sitting in the station.
|
|

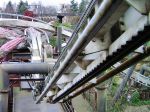
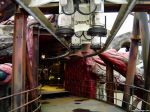
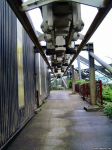
Looking up Nemesis' lift hill.
|
|

Looking back at the start of Nemesis' lift hill.
|
|

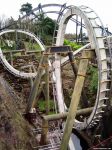
From halfway up the lift hill, we have a look at the loop and stall turn.
|
|

The Nemesis lift hill gives a nice view on the ride circuit, as well as Air in the distance.
|
|

At the top, looking back down the lift hill.
|
|

Closeup of the top of the lift.
|
|

The first drop, seen from the lift platform.
|
|

Once again looking back down towards the station.
|
|

The first Corkscrew, seen from the lift hill.
|
|

And again.
|
|

The Computer Room underneath the station.
|
|

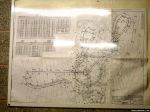
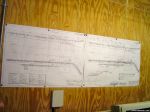
Inside the computer room, we take a look at a layout diagram for Nemesis. Note that around the track it shows the "safety envelope" - the space around the track that needs to be kept free so that the train does not hit anything.
|
|

Another diagram, showing the brake section of track and the maintenance garage. The diagram on the right also shows a shortened version of the lift hill.
|
|
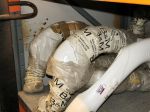
Some replacement restraints from Bolliger & Mabillard.
|
|

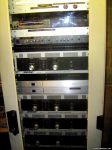
This controls the music around the ride.
|
|

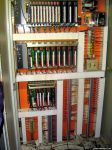
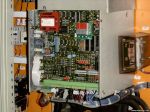
The Programmable Logic Controllers (PLCs) for Nemesis.
|
|

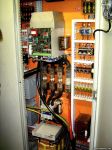
More B&M circuitry.
|
|

A closeup on part of the previous.
|
|

Looking out of the computer room.
|
|

Looking at the front of the station from the lift platform.
|
|

A train in the station, viewed from the brake run.
|
|

Looking at the train from the entrance to the Maintenance Shed.
|
|

The other train in the Maintenance Shed.
|
|

Looking back down the Nemesis brake run.
|
|

Inside the Maintenance Shed, we go to the upper level and take a look.
|
|

From above, looking down on the other train. As it's undergoing its annual overhaul, you'll notice that each row of the train has been seperated.
|
|

A look down towards the rest of the rows.
|
|

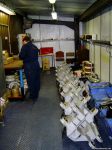
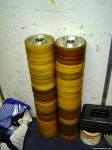
In the upper level, spare ride wheels are stacked together, as well as many other spare ride parts.
|
|

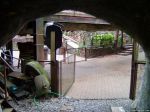
Just after the final corkscrew is a tunnel. Here we're looking backwards towards the Mushroom Cloud Luxury Tours bus.
|
|

Still looking backwards, from a bit further on.
|
|

This is the view Nemesis riders will be familiar with - looking forwards out of the tunnel.
|
|

Further up the hill, and you can see Nemesis' final turn ahead.
|
|

Just prior to the final barrel roll, the track swoops down underneath the exit ramp.
|
|

From underneath the exit ramp, looking back down the track.
|
|

Looking up towards the first helix, with the Monorail in the background.
|
|

As you fly perilously close to the ground, you think you'll hit the solid wall ahead - only to be flipped to the right in the tight inversion.
|
|

Again looking backwards down the track, from a bit further on.
|
|

In the mid-ride tunnel, looking out in the direction that the trains head.
|
|

Looking back towards the vertical loop.
|
|

Looking at the loop from the other side of the tunnel.
|
|

One of the fastest parts of the ride, just before the loop.
|
|

Looking up at Nemesis' vertical loop from beneath.
|
|

The drop before the loop.
|
|

Now facing in the direction that the trains go, into the tunnel after the loop.
|
|

Looking towards the tunnel from a different angle.
|
|

Further up the hill, again looking at the drop before the loop.
|
|

This is the section of track immediately following the inline twist over the station.
|
|

From up the hill, looking back towards the vertical loop and the inline twist.
|
|

A look at Nemesis' final turn from Air's lift hill.
|
|

Again from Air's lift hill we look towards Nemesis. In this shot you can see a lot of the ride circuit.
|
|

The final corkscrew and the "Mushroom Cloud Luxury Tours" bus.
|
|
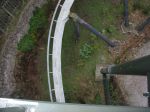
At the top of Air's lift hill, looking down at Nemesis' final turn.
|
|
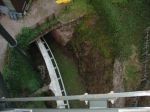
From the same spot, looking at where Nemesis exits the tunnel just before the final bend.
|
|
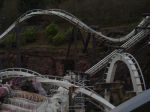
Looking across towards the first corkscrew, vertical loop, and barrel roll over the station.
|
|
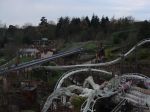
You can see quite a bit of the Forbidden Valley from here.
|
|
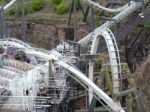
A closeup of Nemesis' loop from Air's lift hill.
|
|
|
|
|
|
|

