| Please note that all of the photographs shown were taken with the park's permission. You should not attempt to enter these areas yourself without prior consent. |
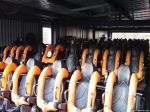
One of the trains in the Maintenance Shed.
|
|
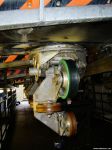
Underneath the train, we look at the wheel housing.
|
|
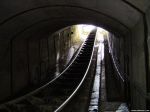
Down in the tunnel, looking towards the exit.
|
|
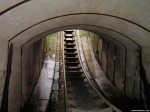
Looking back towards the drop. Note the bars on the floor - as the incline of the floor increases, these bars become stepladders upwards.
|
|
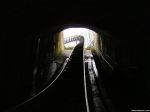
Again looking towards the exit of the tunnel.
|
|
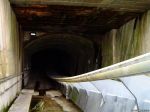
From the exit, we look back down the huge hole.
|
|
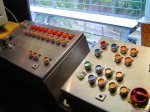
The Operator's console in the station.
|
|
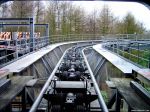
In the station, looking back out of the exit.
|
|
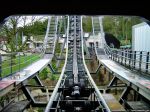
From the same position, looking out of the front of the station.
|
|
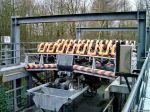
A train sat on the transfer track.
|
|
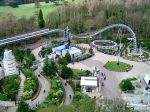
From the lift hill, looking down on the X-Sector.
|
|
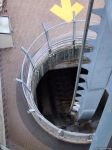
This shot really shows you how the track curves once it goes underground.
|
|
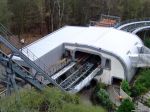
From the end of the lift hill, we take a look back at the station.
|
|
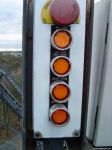
A control panel at the top of the lift hill.
|
|
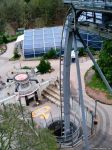
Looking towards the drop.
|
|
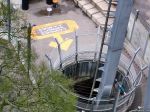
Another view of the drop taken from the lift hill.
|
|
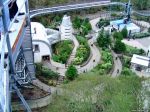
This shot shows you a large section of Oblivion's queue line from above.
|
|
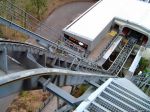
Looking back down the lift hill.
|
|
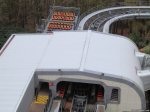
The station again, with the Maintenance Shed attached to it to the left of this picture.
|
|
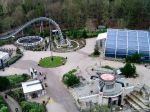
The X-Sector, from Oblivion's lift hill.
|
|
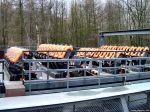
Now we head out the back of the station, and take a closer look at the two trains in the transfer track.
|
|
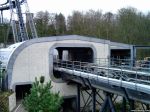
Further down the brake run, looking towards the station.
|
|
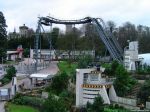
A nice shot of Oblivion and the X-Sector, taken from the end of Oblivion's brake run.
|
|
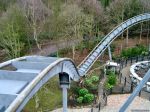
The final part of the ride.
|
|
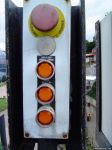
Another control panel, this time on the brake run.
|
|
|
|
|
|
|
