| Please note that all of the photographs shown were taken with the park's permission. You should not attempt to enter these areas yourself without prior consent. |

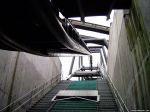
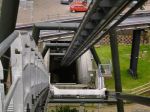
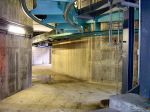
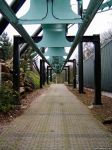
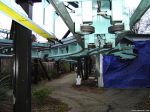
In the tunnel, looking up the lift hill.
|
|

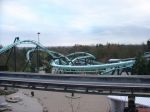
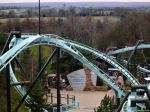
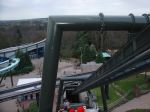
A view of the ride from the lift hill.
|
|

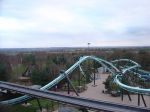
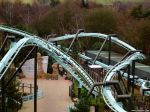
A little bit further up the lift.
|
|

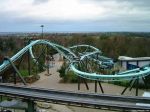
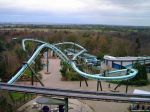
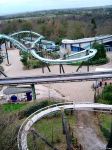
You can see most of the ride circuit in this one shot!
|
|

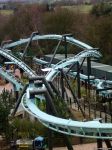
The same shot from a bit further up the lift.
|
|

Zoomed in to the central plaza, from the lift.
|
|

And again, this time showing the final barrel roll.
|
|

Focussing on that inversion.
|
|
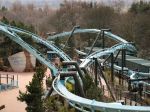
Another look at the central plaza and the brake run.
|
|

Nemesis, the Monorail and Air as viewed from Air's lift hill.
|
|

Looking back down the lift hill towards the tunnel.
|
|

Another shot from the same position.
|
|
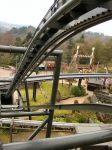
Another shot of Air's lift hill, with Nemesis' brake run down below.
|
|

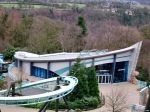
Looking towards the Air Shop from the lift hill.
|
|

Looking across towards where the track changes colour prior to the first major drop.
|
|

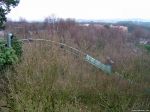
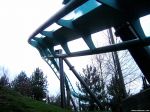
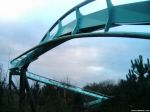
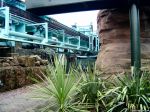
Back on the ground, we go through the mid-ride tunnel and up the grass bank below the inversion that flips you from your back to your front.
|
|

Looking at the same section of track, from higher up on the hill.
|
|

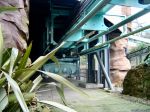
This is where the ride emerges from the mid-ride tunnel.
|
|

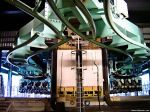
Back in the first tunnel, we look at the two ride stations from the front.
|
|

Looking out into the tunnel prior to the lift hill.
|
|

Viewing an Air train head-on.
|
|

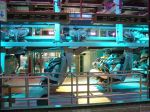
A nice shot of the trains in the station, with the icy blue glow.
|
|

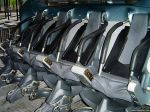
A train sat in the station, under normal lighting conditions.
|
|

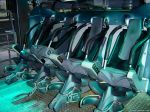
And now with the cool turquoise glow that is displayed whenever a train is dispatched.
|
|

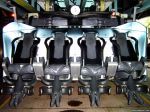
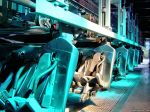
Looking down the train with the turquoise glow still on.
|
|

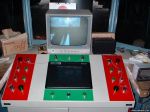
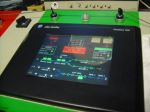
The Operator's console in the control cabin. The main panel is a touch-screen, from which the Operator can control many different parts of the ride and access any level of detailed information they want.
|
|

A shot showing some of the information that can be accessed by the Ride Operator.
|
|

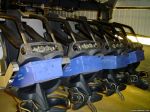
A closeup of some seats with test dummies in (bottles filled with water).
|
|

Looking down the side of a train sat in the station.
|
|
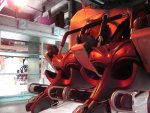
An Air craft in the station, bathed in the orange glow of the heater above.
|
|

In the control cabin, looking at the announcements console.
|
|

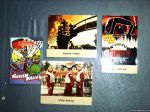
These postcards are on display inside the Operator's cabin for Air.
|
|

Looking down the brake run.
|
|
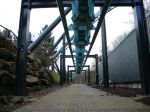
Another shot looking down Air's brake run.
|
|

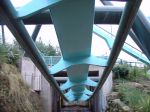
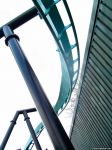
In the brake run, looking up at a section of track.
|
|

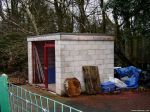
A hut to the side of the brake run.
|
|

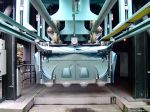
Inside the Maintenance Shed, looking at the third train.
|
|

The train was undergoing its winter overhaul and so it was stripped of its aesthetic covers.
|
|

The front of the ventral cushions (the gray objects resting on tool boxes here) have been opened up for maintenance.
|
|

A closeup on part of the back of the car. Note the seatbelt - this is part of the restraint locking mechanism.
|
|

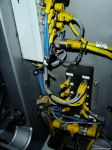
More plugs and wires at the back of the car.
|
|

An overall view of the car from behind.
|
|

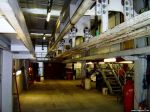
Looking down towards the back of the very long Maintenance Shed.
|
|

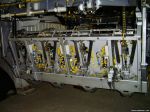
Another row, again with its ventral cushions opened up.
|
|

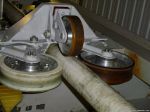
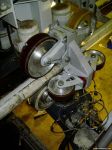
A closeup view of one of the train's wheel assemblies.
|
|

From the upper level, looking down on the "naked" train. Note that just as with Nemesis, the cars are separated.
|
|

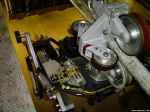
Looking down on the wheel assembly and the rest of the car.
|
|

You can see ever more wiring on the top of the car.
|
|

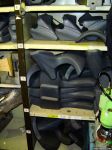
On the upper floor, we find plenty of spare leg holders.
|
|

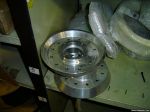
And also some wheel rims.
|
|

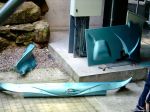
Here are parts of bodywork, removed to allow technicians access to the inner workings of the crafts.
|
|
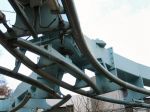
A closeup of the track switcher behind the stations.
|
|

At the point where the track splits into two, ready for re-entering the stations.
|
|

Looking over at the back of station 1.
|
|

Looking at a craft in station 2.
|
|
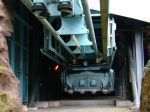
Another look into station 2 from the brake run.
|
|

A train in the station, viewed from the brake run.
|
|

Looking back out of the station.
|
|

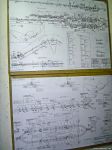
Inside Air's computer room, we take a look at some technical drawings on the wall.
|
|
|
|
|

