| Please note that all of the photographs shown were taken with the park's permission. You should not attempt to enter these areas yourself without prior consent. |

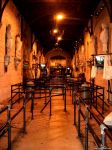
The indoor queue line, with the lights switched on.
|
|

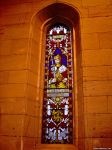
One of the stained glass windows.
|
|

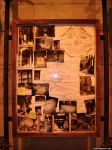
One of the many unique pieces of theming, which normally you wouldn't notice unless you were really paying attention.
|
|

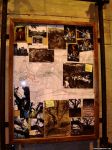
Another board filled with faux archaeological photos.
|
|

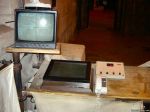
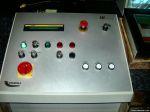
The control panel at the front of the queue line.
|
|

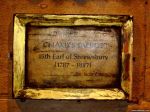
Theming relating to the central character in the ride's storyline, the 15th Earl of Shrewsbury, Charles Talbot.
|
|

Inside the Cinema room, with the lights on.
|
|

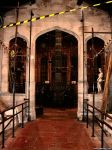
Into the next room, and the passageway before the Octagon.
|
|

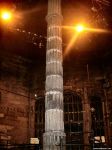
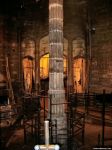
A look inside the Octagon room with the lights on. Notice the lighting rig at the top used for thunder/lighning effects during the ride - this can be lowered down to floor level for maintenance purposes.
|
|

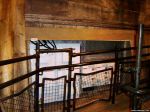
Looking from the Octagon back towards the passageway.
|
|

These panels are usually covered up.
|
|

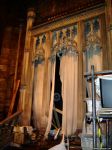
The "window" where effects happen during the ride.
|
|
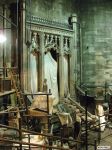
Another look at the window in the Octagon.
|
|

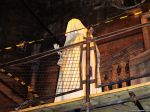
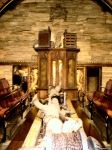
The old woman statue in the Octagon.
|
|

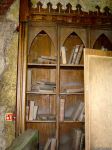
The bookcase which, in the legend, you discover a secret passage behind.
|
|

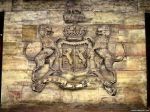
This motif is on the wall inbetween the two doors to the vault.
|
|

Inside the vault, with the lights on.
|
|

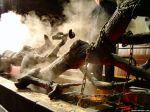
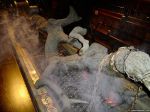
Smoke effects around the "fallen branch".
|
|

Another look at the fallen branch in the vault.
|
|

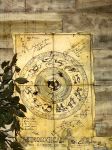
On the wall are several drawings which again, you'd normally not notice unless you were looking out for them.
|
|

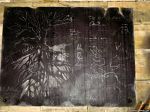
An image on the wall showing the chained oak.
|
|

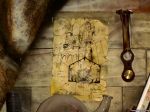
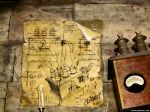
Another one which has fake "plans" for the vault, supposedly drawn up by the Earl of Shrewsbury.
|
|

More technical drawings. These really add to the level of detail on this ride.
|
|

Outside the vault, we take a look at the "room within a room".
|
|

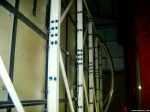
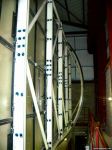
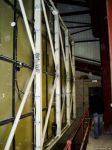
This building is very large - the vault itself isn't exactly small, and then you have this other building around it.
|
|

The "vault" moves at a very high speed when the ride is in progress.
|
|

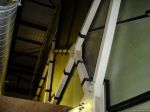
Looking up towards the roof of the shed that houses the vault.
|
|

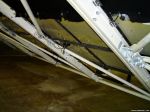
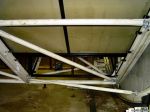
We go down a level and take a look at the underside of the vault.
|
|

The panels can be removed if the technicians need to access something in the vault that can't be easily reached.
|
|

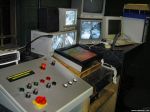
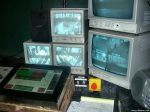
The Hex control room, which is situated to the side of the vault.
|
|

A closer look at the control panel.
|
|

The cameras located throughout the ride give the Operator the ability to keep track on where each group of guests is, amongst other things.
|
|
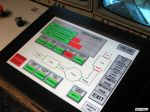
Another close look at the Operator's console, where they can keep track of where guests are throughout the ride.
|
|

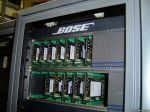
Back in the main building which houses the vault, we look at the sound system for the ride.
|
|

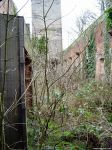
After the Octagon, when you turn left towards the vault, you actually leave the "real" towers and head into a fake section. If you continued forwards rather than turning left, this is the view you'd get.
|
|
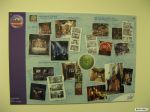
A board with Hex concept art done by Tussauds Studios.
|
|
|
|

