| Many thanks to John Wardley for letting us use these photos. |
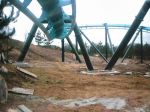
The final helix next to the car park, and the last turn of the ride in the foreground.
|
|
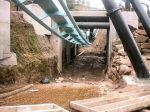
The second tunnel now has a walkway above it.
|
|
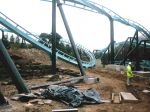
Standing by the exit of the second tunnel, looking towards the final parts of the ride.
|
|
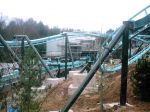
Up on the hill, looking towards the station.
|
|
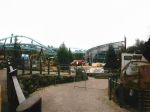
The view of Air from Ripsaw - you can see the shop above the station is looking much more complete now.
|
|
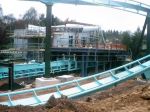
Back in the middle of the ride circuit, looking towards the station/shop.
|
|
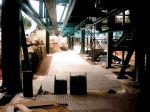
Inside the second station, looking back down towards the brake run.
|
|
|
|
|
