Last additions
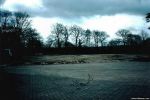
The space left when the Alton Beast was removed.Nov 09, 2005
|
|
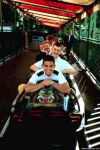
Staff on board the Alton Beast.Nov 09, 2005
|
|

The Operator's control console.Nov 09, 2005
|
|
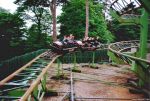
A train comes hurtling round the bend.Nov 09, 2005
|
|
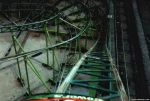
On-board the Alton Beast.Nov 09, 2005
|
|
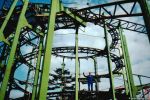
The spiral lift hill.Nov 09, 2005
|
|

A train in the station. Note the Alton Mouse supports in the background.Nov 09, 2005
|
|
Nov 09, 2005
|
|
Nov 09, 2005
|
|
Nov 09, 2005
|
|
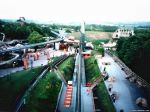
An amazing view of the Forbidden Valley, taken from the top of the rear spire of Thunder Looper.Nov 09, 2005
|
|
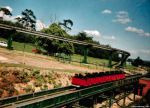
One of the first two loaded test launches of Thunder Looper, in 1990.Nov 09, 2005
|
|
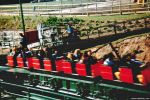
One of the first two loaded test launches of Thunder Looper, in 1990.Nov 09, 2005
|
|
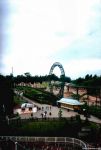
Looking at Thunder Looper from the New Beast's lift hill.Nov 09, 2005
|
|

One of the first two loaded test launches of Thunder Looper, in 1990.Nov 09, 2005
|
|
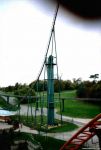
Looking at the tall end tower of Thunder Looper from the New Beast.Nov 09, 2005
|
|
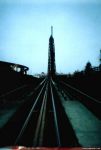
The view on board Thunder Looper.Nov 09, 2005
|
|

One of the first two loaded test launches of Thunder Looper, in 1990.Nov 09, 2005
|
|

Looking at the station platform from the Operator's cabin.Nov 09, 2005
|
|
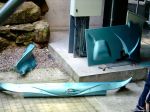
Here are parts of bodywork, removed to allow technicians access to the inner workings of the crafts.Nov 08, 2005
|
|
Nov 08, 2005
|
|
Nov 08, 2005
|
|
Nov 08, 2005
|
|
Nov 08, 2005
|
|
Nov 08, 2005
|
|
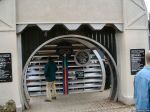
Nov 08, 2005
|
|
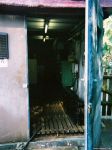
Looking inside the room with the motors in.Nov 08, 2005
|
|
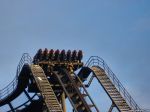
Nov 08, 2005
|
|
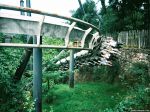
Nov 08, 2005
|
|
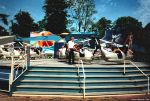
Nov 07, 2005
|
|
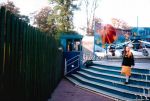
Nov 07, 2005
|
|
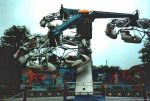
Nov 07, 2005
|
|
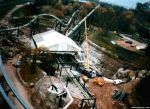
Around one third of the ride's steel track is now in place.Nov 07, 2005
|
|

A superb view of the Nemesis construction site, taken from the top of Thunder Looper.Nov 07, 2005
|
|
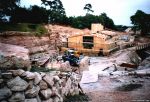
The station is now being constructed, and major landscaping has been done.Nov 07, 2005
|
|
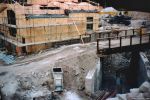
The bridge over what will become the final corkscrew of the ride circuit.Nov 07, 2005
|
|
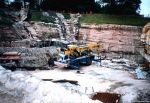
One of the construction vehicles on site.Nov 07, 2005
|
|
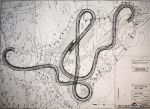
The Nemesis layout in plan view. The thick line shows the "safety envelope" of the trains as they complete a circuit.Nov 07, 2005
|
|
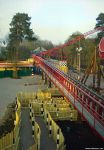
Nov 07, 2005
|
|
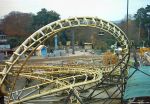
From Corkscrew's lift hill, looking through the first corkscrew. You can see that the outlets to the side of the area have not been touched.Nov 07, 2005
|
|
Nov 07, 2005
|
|
Nov 07, 2005
|
|
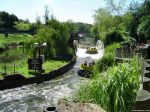
Nov 07, 2005
|
|
Nov 07, 2005
|
|
Nov 07, 2005
|
|
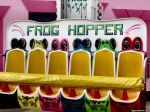
Nov 07, 2005
|
|
Nov 07, 2005
|
|
Nov 07, 2005
|
|
Nov 07, 2005
|
|
Nov 07, 2005
|
|
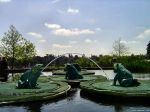
Nov 07, 2005
|
|
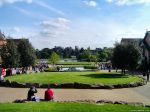
Nov 07, 2005
|
|
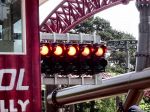
Nov 07, 2005
|
|
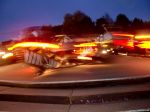
Dynamo in action at night.Nov 07, 2005
|
|
Nov 07, 2005
|
|
Nov 07, 2005
|
|
Nov 07, 2005
|
|
Nov 07, 2005
|
|
Nov 07, 2005
|
|
Nov 07, 2005
|
|
Nov 07, 2005
|
|
Nov 07, 2005
|
|
Nov 07, 2005
|
|
Nov 07, 2005
|
|
Nov 07, 2005
|
|
Nov 07, 2005
|
|
Nov 07, 2005
|
|
Nov 07, 2005
|
|
Nov 07, 2005
|
|
Nov 07, 2005
|
|
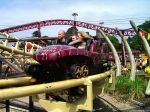
Nov 07, 2005
|
|
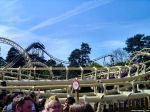
Nov 07, 2005
|
|
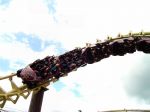
Nov 07, 2005
|
|
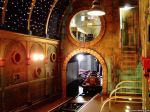
Nov 07, 2005
|
|
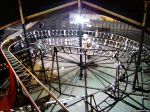
Nov 07, 2005
|
|
Nov 07, 2005
|
|
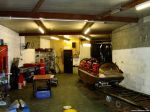
Nov 07, 2005
|
|
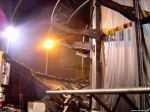
Nov 07, 2005
|
|
Nov 07, 2005
|
|
Nov 07, 2005
|
|
Nov 07, 2005
|
|
Nov 07, 2005
|
|
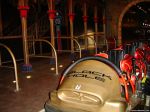
Nov 07, 2005
|
|
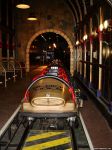
Nov 07, 2005
|
|
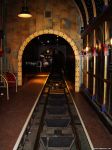
Nov 07, 2005
|
|
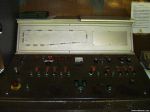
Nov 07, 2005
|
|
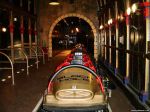
Nov 07, 2005
|
|
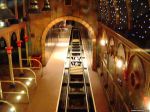
Nov 07, 2005
|
|
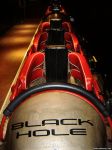
Nov 07, 2005
|
|
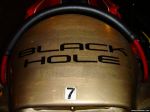
Nov 07, 2005
|
|
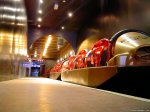
Nov 07, 2005
|
|
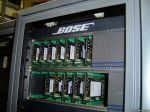
Back in the main building which houses the vault, we look at the sound system for the ride.Nov 07, 2005
|
|
Looking up towards the roof of the shed that houses the vault.Nov 07, 2005
|
|
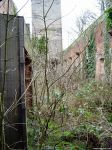
After the Octagon, when you turn left towards the vault, you actually leave the "real" towers and head into a fake section. If you continued forwards rather than turning left, this is the view you'd get.Nov 07, 2005
|
|
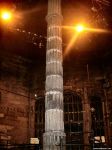
A look inside the Octagon room with the lights on. Notice the lighting rig at the top used for thunder/lighning effects during the ride - this can be lowered down to floor level for maintenance purposes.Nov 07, 2005
|
|
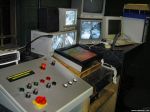
The Hex control room, which is situated to the side of the vault.Nov 07, 2005
|
|
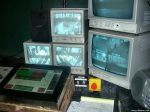
The cameras located throughout the ride give the Operator the ability to keep track on where each group of guests is, amongst other things.Nov 07, 2005
|
|
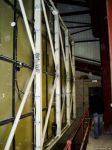
The "vault" moves at a very high speed when the ride is in progress.Nov 07, 2005
|
|
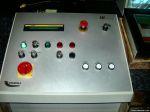
A closer look at the control panel.Nov 07, 2005
|
|
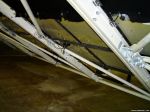
We go down a level and take a look at the underside of the vault.Nov 07, 2005
|
|
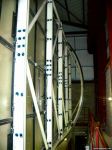
This building is very large - the vault itself isn't exactly small, and then you have this other building around it.Nov 07, 2005
|
|
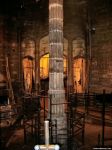
Looking from the Octagon back towards the passageway.Nov 07, 2005
|
|
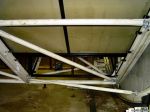
The panels can be removed if the technicians need to access something in the vault that can't be easily reached.Nov 07, 2005
|
|
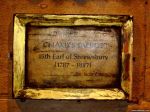
Theming relating to the central character in the ride's storyline, the 15th Earl of Shrewsbury, Charles Talbot.Nov 07, 2005
|
|
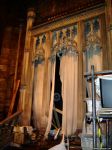
The "window" where effects happen during the ride.Nov 07, 2005
|
|
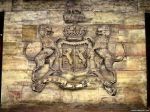
This motif is on the wall inbetween the two doors to the vault.Nov 07, 2005
|
|
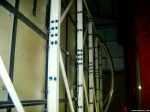
Outside the vault, we take a look at the "room within a room".Nov 07, 2005
|
|
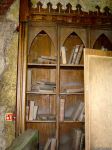
The bookcase which, in the legend, you discover a secret passage behind.Nov 07, 2005
|
|
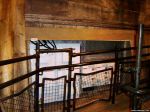
These panels are usually covered up.Nov 07, 2005
|
|
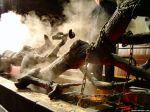
Smoke effects around the "fallen branch".Nov 07, 2005
|
|
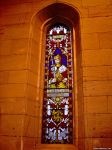
One of the stained glass windows.Nov 07, 2005
|
|
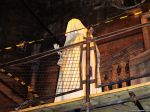
The old woman statue in the Octagon.Nov 07, 2005
|
|
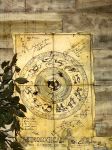
On the wall are several drawings which again, you'd normally not notice unless you were looking out for them.Nov 07, 2005
|
|
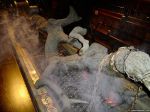
Another look at the fallen branch in the vault.Nov 07, 2005
|
|
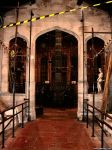
Into the next room, and the passageway before the Octagon.Nov 07, 2005
|
|
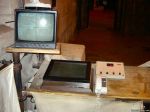
The control panel at the front of the queue line.Nov 07, 2005
|
|
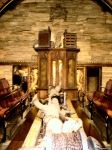
Inside the vault, with the lights on.Nov 07, 2005
|
|
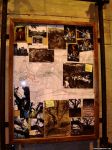
Another board filled with faux archaeological photos.Nov 07, 2005
|
|
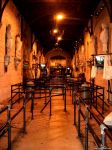
The indoor queue line, with the lights switched on.Nov 07, 2005
|
|
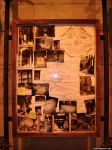
One of the many unique pieces of theming, which normally you wouldn't notice unless you were really paying attention.Nov 07, 2005
|
|

Inside the Cinema room, with the lights on.Nov 07, 2005
|
|
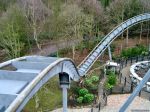
The final part of the ride.Nov 07, 2005
|
|
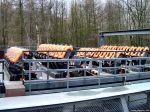
Now we head out the back of the station, and take a closer look at the two trains in the transfer track.Nov 07, 2005
|
|
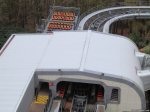
The station again, with the Maintenance Shed attached to it to the left of this picture.Nov 07, 2005
|
|
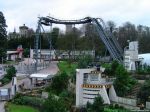
A nice shot of Oblivion and the X-Sector, taken from the end of Oblivion's brake run.Nov 07, 2005
|
|
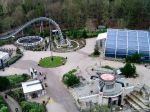
The X-Sector, from Oblivion's lift hill.Nov 07, 2005
|
|
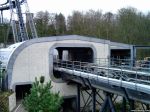
Further down the brake run, looking towards the station.Nov 07, 2005
|
|
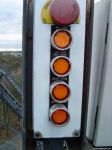
A control panel at the top of the lift hill.Nov 07, 2005
|
|
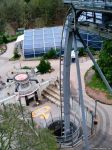
Looking towards the drop.Nov 07, 2005
|
|
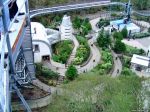
This shot shows you a large section of Oblivion's queue line from above.Nov 07, 2005
|
|
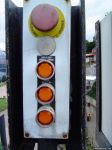
Another control panel, this time on the brake run.Nov 07, 2005
|
|
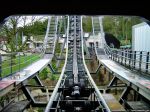
From the same position, looking out of the front of the station.Nov 07, 2005
|
|
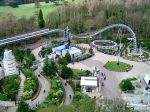
From the lift hill, looking down on the X-Sector.Nov 07, 2005
|
|
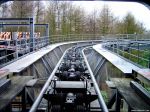
In the station, looking back out of the exit.Nov 07, 2005
|
|
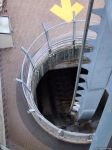
This shot really shows you how the track curves once it goes underground.Nov 07, 2005
|
|
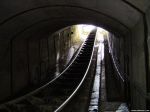
Down in the tunnel, looking towards the exit.Nov 07, 2005
|
|
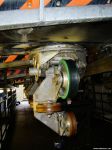
Underneath the train, we look at the wheel housing.Nov 07, 2005
|
|
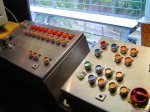
The Operator's console in the station.Nov 07, 2005
|
|
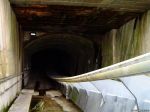
From the exit, we look back down the huge hole.Nov 07, 2005
|
|
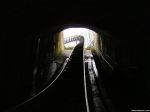
Again looking towards the exit of the tunnel.Nov 07, 2005
|
|
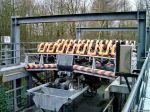
A train sat on the transfer track.Nov 07, 2005
|
|
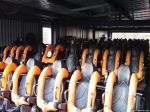
One of the trains in the Maintenance Shed.Nov 07, 2005
|
|
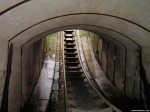
Looking back towards the drop. Note the bars on the floor - as the incline of the floor increases, these bars become stepladders upwards.Nov 07, 2005
|
|
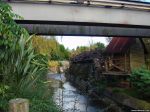
Adrenaline WeekAnother look at the empty Rapids channel.Nov 07, 2005
|
|
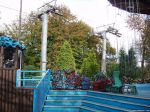
Adrenaline WeekThe chairs, sat on the platform next to the Operator's cabin.Nov 07, 2005
|
|
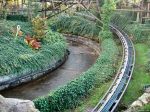
Adrenaline WeekA nice shot of the Congo River Rapids, drained, with the Runaway Mine Train track alongside.Nov 07, 2005
|
|
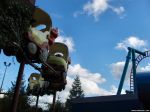
Adrenaline WeekSquirrel Nutty cars, parked out of the back of the station.Nov 07, 2005
|
|
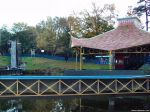
Adrenaline WeekThe Flume's channel is also now empty.Nov 07, 2005
|
|
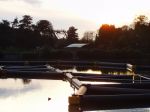
Adrenaline WeekLooking over the Splash Kart Challenge towards the X-Sector.Nov 07, 2005
|
|
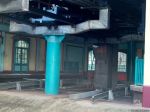
Adrenaline WeekA skyride station - note the lack of gondolas!Nov 07, 2005
|
|
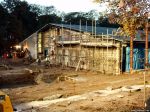
Floodlights are required, with the light fading so early now.Nov 06, 2005
|
|
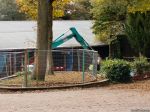
A digger outside the entrance. You can still see part of the old theming inside the building.Nov 06, 2005
|
|
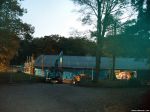
As darkness falls, construction workers continue to do their job.Nov 06, 2005
|
|
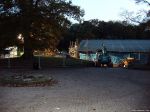
Hopefully we will begin to see some major changes in the area soon.Nov 06, 2005
|
|
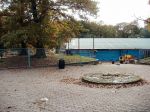
No visible changes to the front of the building yet.Nov 06, 2005
|
|
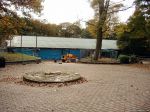
There is plenty of work going on inside, however, to modify the existing water channel.Nov 06, 2005
|
|
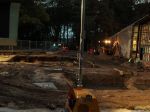
The deep trenches in the ground outside.Nov 06, 2005
|
|
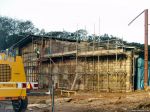
Even more scaffolding has been erected on the outside of the building now.Nov 06, 2005
|
|
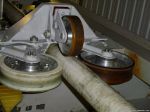
A closeup view of one of the train's wheel assemblies.Nov 06, 2005
|
|
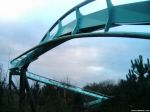
Looking at the same section of track, from higher up on the hill.Nov 06, 2005
|
|
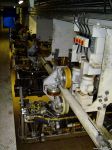
From the upper level, looking down on the "naked" train. Note that just as with Nemesis, the cars are separated.Nov 06, 2005
|
|
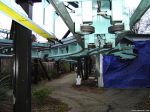
Looking back out of the station.Nov 06, 2005
|
|
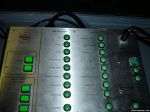
In the control cabin, looking at the announcements console.Nov 06, 2005
|
|
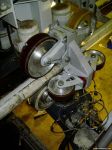
Looking down on the wheel assembly and the rest of the car.Nov 06, 2005
|
|
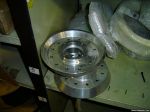
And also some wheel rims.Nov 06, 2005
|
|
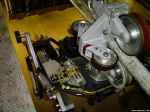
You can see ever more wiring on the top of the car.Nov 06, 2005
|
|
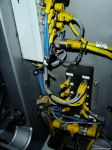
More plugs and wires at the back of the car.Nov 06, 2005
|
|
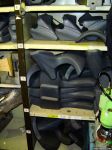
On the upper floor, we find plenty of spare leg holders.Nov 06, 2005
|
|
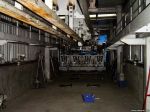
Inside the Maintenance Shed, looking at the third train.Nov 06, 2005
|
|
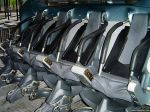
A train sat in the station, under normal lighting conditions.Nov 06, 2005
|
|
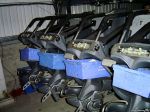
The front of the ventral cushions (the gray objects resting on tool boxes here) have been opened up for maintenance.Nov 06, 2005
|
|
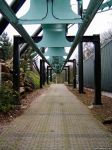
Looking down the brake run.Nov 06, 2005
|
|
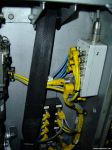
A closeup on part of the back of the car. Note the seatbelt - this is part of the restraint locking mechanism.Nov 06, 2005
|
|
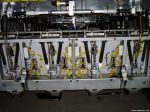
The train was undergoing its winter overhaul and so it was stripped of its aesthetic covers.Nov 06, 2005
|
|
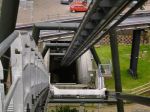
Looking back down the lift hill towards the tunnel.Nov 06, 2005
|
|
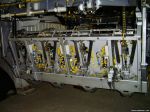
An overall view of the car from behind.Nov 06, 2005
|
|
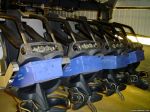
Another row, again with its ventral cushions opened up.Nov 06, 2005
|
|
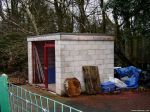
A hut to the side of the brake run.Nov 06, 2005
|
|
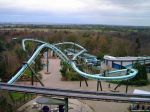
The same shot from a bit further up the lift.Nov 06, 2005
|
|
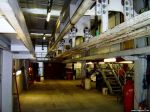
Looking down towards the back of the very long Maintenance Shed.Nov 06, 2005
|
|
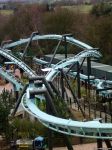
Focussing on that inversion.Nov 06, 2005
|
|
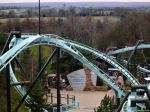
Zoomed in to the central plaza, from the lift.Nov 06, 2005
|
|
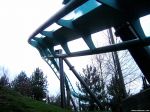
Back on the ground, we go through the mid-ride tunnel and up the grass bank below the inversion that flips you from your back to your front.Nov 06, 2005
|
|
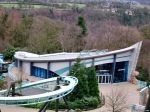
Looking towards the Air Shop from the lift hill.Nov 06, 2005
|
|
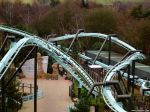
And again, this time showing the final barrel roll.Nov 06, 2005
|
|
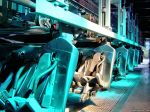
Looking down the train with the turquoise glow still on.Nov 06, 2005
|
|
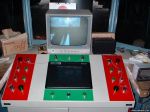
The Operator's console in the control cabin. The main panel is a touch-screen, from which the Operator can control many different parts of the ride and access any level of detailed information they want.Nov 06, 2005
|
|
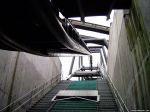
In the tunnel, looking up the lift hill.Nov 06, 2005
|
|
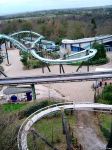
Nemesis, the Monorail and Air as viewed from Air's lift hill.Nov 06, 2005
|
|
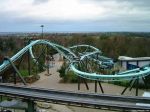
You can see most of the ride circuit in this one shot!Nov 06, 2005
|
|
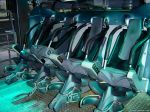
And now with the cool turquoise glow that is displayed whenever a train is dispatched.Nov 06, 2005
|
|
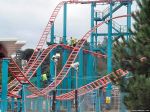
Nov 06, 2005
|
|
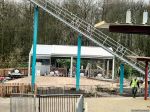
Nov 06, 2005
|
|
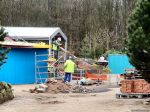
Nov 06, 2005
|
|
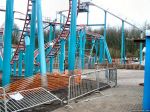
Nov 06, 2005
|
|
Nov 06, 2005
|
|
Nov 06, 2005
|
|
Nov 06, 2005
|
|
Nov 06, 2005
|
|
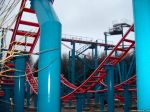
Nov 06, 2005
|
|
| 4925 images on 25 page(s) |
 |
 |
 |
16 |  |
 |
|